
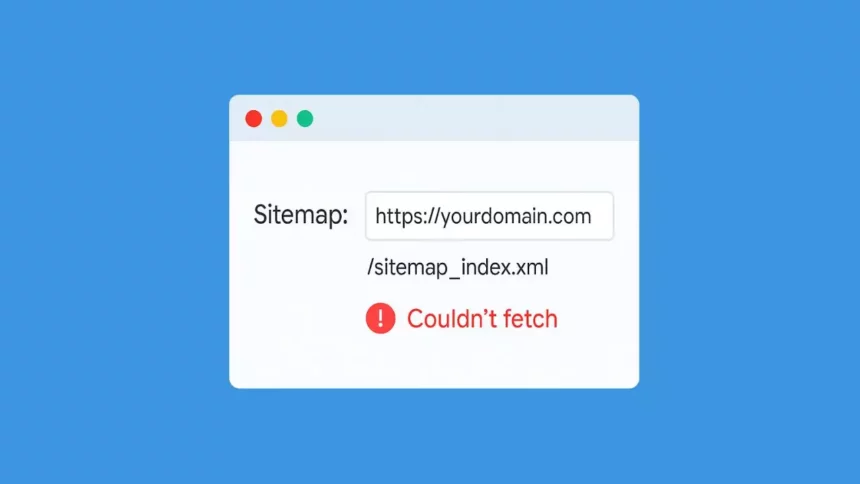
The “Couldn’t fetch” error message in Google Search Console can be perplexing. It may indicate that Google hasn’t yet crawled your sitemap or that it encountered an error while attempting to do so. Since it’s challenging to distinguish between these scenarios, it’s essential to ensure that the issue doesn’t stem from your sitemap.
This guide will walk you through diagnosing and resolving potential sitemap errors that might trigger the “Couldn’t fetch” message in Google Search Console.

1. Rename the Sitemap
If your sitemap is valid (e.g., sitemap_index.xml) but still isn’t functioning correctly or can’t be read, renaming the sitemap file might resolve the issue.
In Google Search Console, navigate to Indexing > Sitemaps. Under Add a new sitemap, paste the following URL and click SUBMIT:
https://yourdomain.com/?sitemap=1
2. Fix Sitemap Errors
If the sitemap still returns a “Couldn’t fetch” error, follow these steps to ensure it’s correctly configured.
2.1 Validate the Sitemap
Confirm that your sitemap is properly structured. Enter your sitemap URL into the XML Sitemap Validator and click VALIDATE SITEMAP.
https://yourdomainname.com/sitemap_index.xml

If the sitemap is correctly configured, the tool will return a success message: “No issues detected.”

2.2 Ensure the Sitemap Is in the Root Directory
If you’ve manually created the sitemap, ensure it’s placed in the root directory of your WordPress installation. The sitemap URL should look like:
https://yourdomainname.com/sitemap_index.xmlEnsure there’s only one slash (/) between the domain name and the sitemap path.
2.3 Set Posts to Index Mode
If all your posts are set to “noindex,” the sitemap will appear empty. To set posts to “index” mode, navigate to Rank Math SEO > Titles & Meta. Under the Robots Meta section, enable the Index option and click Save Changes.

2.4 Clear the Sitemap Cache
If the sitemap appears outdated, you may need to clear its cache. Go to Rank Math SEO > Sitemap Settings, and increase the value of the Sitemap Cache Time to refresh the sitemap.


2.5 Exclude Sitemap from Caching
If you’re using a caching plugin, ensure that the sitemap URL is excluded from caching. This prevents the sitemap from being served as a cached version, which might be outdated.
3. Add the Correct Version of the Sitemap to Google Search Console
3.1 Identify the Correct URL Version of Your Website
Determine whether your website uses http or https, and whether it includes www or not. For example:
-
https://yourdomain.com -
https://www.yourdomain.com
Ensure consistency across your website and in Google Search Console.

3.2 Add the Correct URL to Google Search Console
In Google Search Console, add the correct version of your website’s URL as a new property if it’s not already present.
3.3 Submit the Sitemap to Google Search Console
Once the correct property is added, navigate to Indexing > Sitemaps, enter your sitemap URL (e.g., sitemap_index.xml), and click SUBMIT.
4. Wait for Google to Crawl the Sitemap
After submitting the sitemap, it may take some time for Google to crawl and process it. Monitor the status in Google Search Console for any updates or errors.
Conclusion
Encountering the “Couldn’t fetch” error for your sitemap in Google Search Console can be due to various reasons, including incorrect sitemap configuration, caching issues, or inconsistencies in your website’s URL structure. By following the steps outlined above, you can diagnose and resolve these issues to ensure that your sitemap is correctly fetched and processed by Google.
Related articles


Hi, I’m Nghia Vo: a computer hardware graduate, passionate PC hardware blogger, and entrepreneur with extensive hands-on experience building and upgrading computers for gaming, productivity, and business operations.
As the founder of Vonebuy.com, a verified ecommerce store under Vietnam’s Ministry of Industry and Trade, I combine my technical knowledge with real-world business applications to help users make confident decisions.
I specialize in no-nonsense guides on RAM overclocking, motherboard compatibility, SSD upgrades, and honest product reviews sharing everything I’ve tested and implemented for my customers and readers.