You can write a perfectly accurate AI video prompt and still end up with a flat, forgettable clip. The gap usually isn’t about what is in the shot. It’s about how the shot is directed: where the camera sits, how it moves, what the light is doing, and where the viewer’s eye is supposed to land.
Google Flow is built for exactly this kind of creative control. It’s Google’s AI filmmaking tool, and it combines generative video models with camera controls, reference assets and an iterative editing workflow. Google’s own guidance tells users to describe the subject, action, setting, lighting and style in plain language, rather than memorizing a set of special commands.
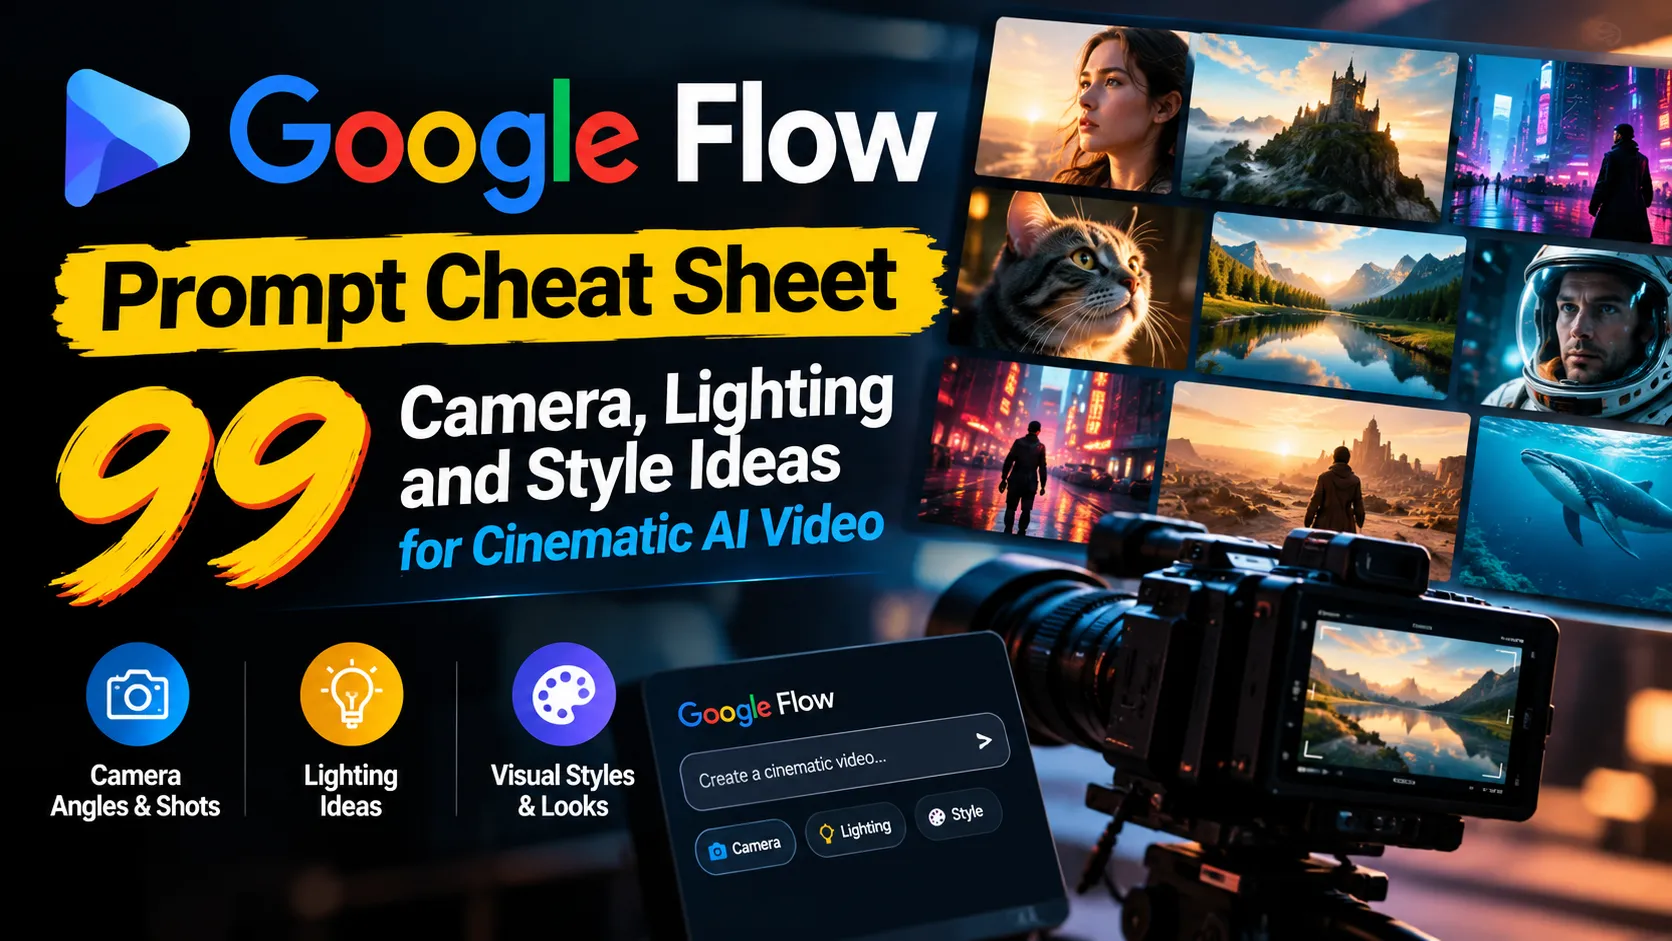
That’s worth keeping in mind, because you’ll often see lists online that promise “Google Flow commands” written as slash terms like /orbit or /goldenhour. This cheat sheet borrows the best ideas from that style of list, but treats them honestly: as prompt vocabulary and creative shorthand, not an officially documented command language. Each idea below works best when you spell it out in a normal sentence.
The short version: Don’t try to memorize 99 terms. Learn how camera, light, framing and focus work together, then describe them clearly.
Commands vs. Plain-Language Direction
Here’s the same shot written two ways.
Shorthand: tracking, low angle, neon light, shallow depth of field
Natural language: An astronaut strolls through a futuristic city at night. The camera follows alongside from a low angle, with neon signs glowing in the background and everything behind the astronaut softly blurred.
The shorthand is handy as a personal checklist. The sentence version is what you should actually send to the model, because it tells Flow how the pieces relate to each other.
It also helps to separate three things people tend to blur together:
- Real Flow features: interface controls Google has documented, such as camera position and motion options, reference images, ingredients, and start and end frames. Availability varies by model, platform, plan and region.
- Prompt language: the descriptive sentences you write to tell the model what to generate.
- Creative shorthand: compact terms that creators use to remind themselves what to include.
If you keep those apart, you’ll avoid the most common trap: assuming a term works because it looks like a command.
A Simple Formula for Cinematic Prompts
Most strong video prompts can be built from eight layers:
Subject → Action → Setting → Camera → Movement → Lighting → Composition → Mood
Here’s one assembled from those layers:
A trail runner crosses a ridge line at dawn. The camera starts wide, then glides alongside the runner at knee height. Warm low sunlight, drifting mist in the valley below, the runner placed on the right third of the frame. Quiet, determined, cinematic.
What each layer contributes:
- Subject tells the model what the shot is about.
- Action gives that subject something to do.
- Setting builds the world around them.
- Camera decides the viewpoint and distance.
- Movement describes how the shot changes over its few seconds.
- Lighting sets the atmosphere.
- Composition positions everything inside the frame.
- Mood gives the whole thing an emotional direction.
You rarely need all eight. But if a result feels generic, the missing layer is usually the reason.
The 99 Ideas, Grouped by Purpose
The terms below are organized into nine groups of eleven. Use them as a menu, not a checklist. Pick one or two from a few groups and write them into a sentence.
1. Camera Movement
These describe how the viewer travels through the scene.
- Cinematic look: an overall film-style treatment with deliberate camera work.
- Aerial or drone view: an elevated vantage point over a landscape or city.
- Close-up: tight framing on a face, object or detail.
- Wide angle: a broad field of view that takes in the surroundings.
- Orbit: the camera circles the subject.
- Dolly in: a slow push toward the subject.
- Dolly out: a slow pull away, often used for reveals or endings.
- Tracking shot: the camera follows a moving subject.
- Slow motion: movement visibly stretched in time.
- Time-lapse: a long stretch of time compressed into seconds.
- Hyperlapse: fast, sweeping movement through a space.
When it fits: match movement to purpose. Tracking suits a subject on the move, a dolly-in builds focus or tension, and an aerial view works when the location is part of the story.
2. Camera Angles and Rigs
These describe where the camera is and how it’s being operated.
- Low angle: shooting upward to make a subject look powerful or large.
- High angle: shooting downward to show context or vulnerability.
- Overhead: a straight top-down view.
- POV: the scene as the character sees it.
- Over-the-shoulder: framed from behind one character.
- Establishing shot: a wide opener that introduces the location.
- Rack focus: focus shifting from one subject to another.
- Handheld: slightly shaky, documentary-style realism.
- Steadicam: smooth, floating movement through a space.
- Crane up: the camera rises, like it’s on a jib arm.
- Crane down: the camera lowers into the scene.
Angle and movement are different things. A low angle is a position. A dolly-in is a motion. Combining one of each is a reliable way to add drama: a low-angle shot that slowly pushes in.
3. Subject Motion and Action
These focus on what’s happening in front of the lens.
- Running: fast, athletic movement.
- Walking: natural, unhurried steps.
- Turnaround: the subject spins or turns to face the camera.
- Reveal: the shot builds toward showing something.
- Entrance: a subject arrives in the frame.
- Exit: a subject leaves the frame.
- Freeze frame: the moment appears to stop.
- Speed ramp: motion shifts between fast and slow within one shot.
- Bullet time: the action looks frozen while the camera sweeps around it.
- Floating: weightless, hovering movement.
- Falling: downward motion through the scene.
With action, describe the sequence, not just the label. “Speed ramp” alone is vague. “A skater rushes toward a rail, then slows to near-stillness at the top of the jump” gives the model a story to follow.
4. Lighting
Light changes how the same subject feels.
- Golden hour: warm, low, soft sunrise or sunset light.
- Blue hour: cool, quiet light just before sunrise or after sunset.
- Neon: colorful artificial glow.
- Low-key and moody: deep shadows and a darker emotional tone.
- Soft, diffused light: gentle shadows and flattering contrast.
- Rim light: a bright edge that separates the subject from the background.
- Silhouette: a dark shape against a brighter backdrop.
- Spotlight: a focused beam that isolates the subject.
- Volumetric light: visible rays through mist, dust or smoke.
- Backlight: the main light source behind the subject.
- Night scene: a setting designed around darkness and artificial light.
Lighting words work better with a setting attached. “Neon” is a decoration. “Wet streets reflecting neon signs in a night market” is a scene.
5. Composition and Framing
These decide where things sit in the frame.
- Wide framing: includes lots of the environment.
- Tight framing: crops close around the subject.
- Minimalist frame: very little clutter.
- Leading lines: roads, rails or architecture guiding the eye.
- Rule of thirds: key subjects off-center on a three-by-three grid.
- Symmetry: balanced, mirrored structure.
- Foreground layering: objects in front that add depth.
- Frame within a frame: a doorway, window or arch around the subject.
- Diagonal composition: angled lines that add energy.
- Centered subject: the subject placed in the middle.
- Negative space: deliberate empty areas around the subject.
If the clip will carry text or a logo, plan for it. Negative space and rule-of-thirds framing leave natural room for titles.
6. Lens and Camera Effects
These mimic optical or post-production looks.
- Motion blur: smeared movement that suggests speed.
- Zoom blur: streaking created by a rapid zoom.
- Bokeh: soft, glowing out-of-focus highlights.
- Lens flare: light scattering across the lens.
- Vignette: darkened edges that pull attention inward.
- Split toning: different tints in shadows and highlights.
- Monochrome: one color family throughout.
- Radial blur: blur spreading from a central point.
- Prism effect: refracted, rainbow-like light.
- Glitch: digital distortion and corrupted-screen styling.
- Film grain: visible texture like analog film.
Treat effects as seasoning. Stack too many and they bury the subject.
7. Focus and Depth
These control what’s sharp and what’s soft.
- Macro: an extreme close look at tiny details.
- Shallow depth of field: sharp subject, blurred background.
- Deep focus: sharp from foreground to background.
- Selective focus: sharpness placed on one chosen area.
- Eye focus: the eyes are the sharpest point.
- Center focus: the middle of the frame stays crisp.
- Tunnel focus: a sharp center with softened surroundings.
- Focus stacking: detail that looks crisp at several distances.
- Focus pull: attention drifts from sharp to soft, or the reverse.
- Deliberate manual focus: a controlled, filmmaker-style focus change.
- Shaped bokeh: background highlights in a stylized form, like hearts or stars.
Shallow depth of field is the quickest way to give portraits and product shots a premium feel.
8. Color and Grade
These shape the overall tone of the footage.
- Warm tones: golds, oranges and reds.
- Cool tones: blues and cyans.
- High contrast: strong separation of light and dark.
- Exposure choice: deliberately bright (high-key) or dark (low-key).
- Rich saturation: intense color.
- Desaturated: muted, restrained color.
- Teal and orange: the classic blockbuster color split.
- Vibrant palette: lively, energetic color.
- Black and white: classic monochrome.
- Neon palette: glowing, highly saturated hues.
- Faded or pastel: soft, washed-out, vintage-leaning color.
9. Mood and Style
These set the emotional and aesthetic direction.
- Dreamlike: hazy, floating, soft-edged.
- Documentary realism: natural, observational, unpolished.
- Film noir: hard shadows, smoke and tension.
- Retro 1980s: synth colors, analog texture, nostalgia.
- Futuristic sci-fi: sleek surfaces, glowing interfaces.
- Epic scale: grand landscapes, sweeping moves.
- Intimate: close, quiet, personal.
- Suspenseful: slow reveals, shadow and silence.
- Clean commercial: polished, minimal, product-first.
- Whimsical: playful, colorful, storybook charm.
- Surreal: unexpected, impossible or symbolic imagery.
Twelve Terms to Try First
You don’t need all 99 to improve your results. These twelve cover motion, framing, light and focus, and they combine well:
- Tracking shot
- Orbit
- Dolly in
- Close-up
- Low angle
- POV
- Slow motion
- Golden hour
- Volumetric light
- Shallow depth of field
- Rule of thirds
- Reveal
Notice they come from different groups. A cinematic shot usually needs a bit of everything, not a pile of one kind.
Five Prompts You Can Adapt
These are written in natural language, the way Flow’s own guidance suggests.
Product teaser
A matte-black wireless speaker rests on a concrete block in a dim studio. The camera slowly circles it while drifting closer. A single soft light skims the top edge, leaving the background dark and uncluttered. Sleek, high-end, unhurried.
Travel scene
A high aerial view over rice terraces at sunrise, with low cloud settling in the valleys. The camera glides forward and gently descends toward a small farmhouse. Warm golden light, soft haze, wide and expansive framing.
Character moment
A lighthouse keeper climbs a narrow spiral staircase. The camera follows from above, then shifts to a close-up of a lantern flame flickering in his hand. Dim, warm, moody lighting, shallow depth of field, quiet and mysterious.
Short-form social clip
Vertical video. Hot caramel pours onto a stack of pancakes in extreme close-up. Cut to a wider shot as hands pass the plate across a sunlit kitchen counter. Warm natural light, shallow focus, fast and appetizing.
Business video
A modern logistics warehouse in full operation. Begin with a wide shot of the floor, then follow a worker scanning packages along a conveyor belt. Clean, bright lighting, smooth camera movement, confident and professional tone.
Five More Quick Combinations
- Skyline at dusk: a glass tower at blue hour, camera rising from street level, symmetrical framing, cool reflections.
- Portrait: an elderly baker at a window, slow push-in, soft side light, softly blurred background.
- Sports: a swimmer pushing off the wall, low tracking angle, a beat of slow motion at the splash, strong backlight.
- Fashion: a model crossing a minimalist plaza, smooth steadicam, full-body shot easing into a detail close-up.
- Story hook: a lone red door in a snowy field, a distant wide shot that slowly approaches as warm light spills from the gap beneath it.
Mistakes That Hold Prompts Back
Cramming in too many directions. Twenty instructions don’t add up to a better clip. They compete.
Giving the camera contradictory orders. “Push in slowly while pulling away fast” leaves the model guessing.
Letting effects take over. Grain, flare, glitch and heavy grading can swallow the story. Add only what serves it.
Forgetting the subject also moves. A tracking shot needs something worth tracking. Say who or what is moving and how.
Skipping the framing. “A person walking” leaves everything open. “A medium-wide shot with the walker on the right third” does not.
Using empty adjectives. “Beautiful lighting” says little. “Soft warm side light with a hint of haze” says a lot.
Treating slash terms as official. A shorthand can be useful without being a built-in command. Don’t mistake community habit for product functionality.
Expecting identical results every time. Generative video varies. Iteration is part of the process.
Ignoring the destination. A widescreen YouTube piece and a vertical Reel need different framing, so decide the format early.
Chasing effects instead of a story. Before choosing how the camera should move, decide why it should.
Habits That Improve Results
- Start small. Lock in subject, action and setting first, then layer on camera and light.
- Change one thing at a time. If a result is close, adjust one element rather than rewriting the whole prompt.
- Be specific about movement. Phrases like “pushes slowly toward,” “rises above the scene” and “moves from wide to close-up” are clear and usable.
- Name the perspective. Camera height alters the feel of a scene dramatically.
- Choose a type of light. “Cinematic lighting” is vague. Soft window light, warm sunset or hard backlight are not.
- Use references for continuity. Flow supports reference assets and ingredients, which help characters and objects stay consistent across shots.
- Think in shots. Build a film one short, well-directed clip at a time, then assemble the sequence.
- Compare versions. Generate a few, note what worked, and carry that forward.
Frequently Asked Questions
Does Google Flow have official slash commands? Google’s documentation describes natural-language prompting and dedicated creative controls. It does not present this 99-term slash list as a supported command system, so treat the terms as prompt ideas.
How should I write a Flow prompt? Describe the subject, action, setting, lighting and style in plain language. Then add camera angle, movement, composition and mood as needed.
Can Flow do camera movements? Yes. It offers camera-related controls, and you can also request movements in your prompt. Some advanced camera position and motion options may depend on the version or platform you’re using.
Can I combine several of these ideas? Yes, as long as they don’t contradict each other. A low angle, tracking movement, warm light and shallow depth of field work well together.
What’s the best way for a beginner to start? Pick one clear shot, describe the subject and action, add a single camera move and a lighting style, then refine one variable per attempt.
Final Thoughts
A list of 99 terms is useful less as a vocabulary test and more as a reminder of how many choices a filmmaker makes in a single shot. The real skill is direction: deciding what the audience should see, how the camera should behave, and what feeling the light should carry.
You can write “orbit” or you can write “the camera slowly circles the subject.” What matters is that the intent is clear.
Start with the story, then direct the shot.
Hi, I’m Nghia Vo: a computer hardware graduate, passionate PC hardware blogger, and entrepreneur with extensive hands-on experience building and upgrading computers for gaming, productivity, and business operations.
As the founder of Vonebuy.com, a verified ecommerce store under Vietnam’s Ministry of Industry and Trade, I combine my technical knowledge with real-world business applications to help users make confident decisions.
I specialize in no-nonsense guides on RAM overclocking, motherboard compatibility, SSD upgrades, and honest product reviews sharing everything I’ve tested and implemented for my customers and readers.