In the ever-evolving world of PC building, choosing the right form factor is a critical decision that impacts both performance and practicality. A micro ATX build strikes an ideal balance between compact size and robust performance, making it a compelling choice for gamers, professionals, and hobbyists alike. This guide explores why a micro ATX build might be perfect for you, the essential components needed, a real-world budget build example, and practical tips to ensure your micro ATX PC meets your needs today and in the future.

Why Choose a Micro ATX Build?
Micro ATX motherboards, smaller than standard ATX but larger than mini-ITX, offer a sweet spot for those seeking a compact yet capable PC. Here’s why a micro ATX build stands out:
- Space Efficiency: Micro ATX cases are significantly smaller than full ATX towers, making them ideal for small desks, living rooms, or dorm rooms. They’re perfect for users who want a powerful PC without dominating their space.
- Cost-Effectiveness: Micro ATX components, including motherboards and cases, are often more affordable than their ATX or mini-ITX counterparts, allowing you to allocate your budget to performance-critical parts like the CPU or GPU.
- Versatility and Upgradeability: Despite their smaller size, micro ATX motherboards typically support multiple expansion slots, modern technologies like PCIe 4.0, and a range of CPUs, ensuring your build can evolve with your needs.
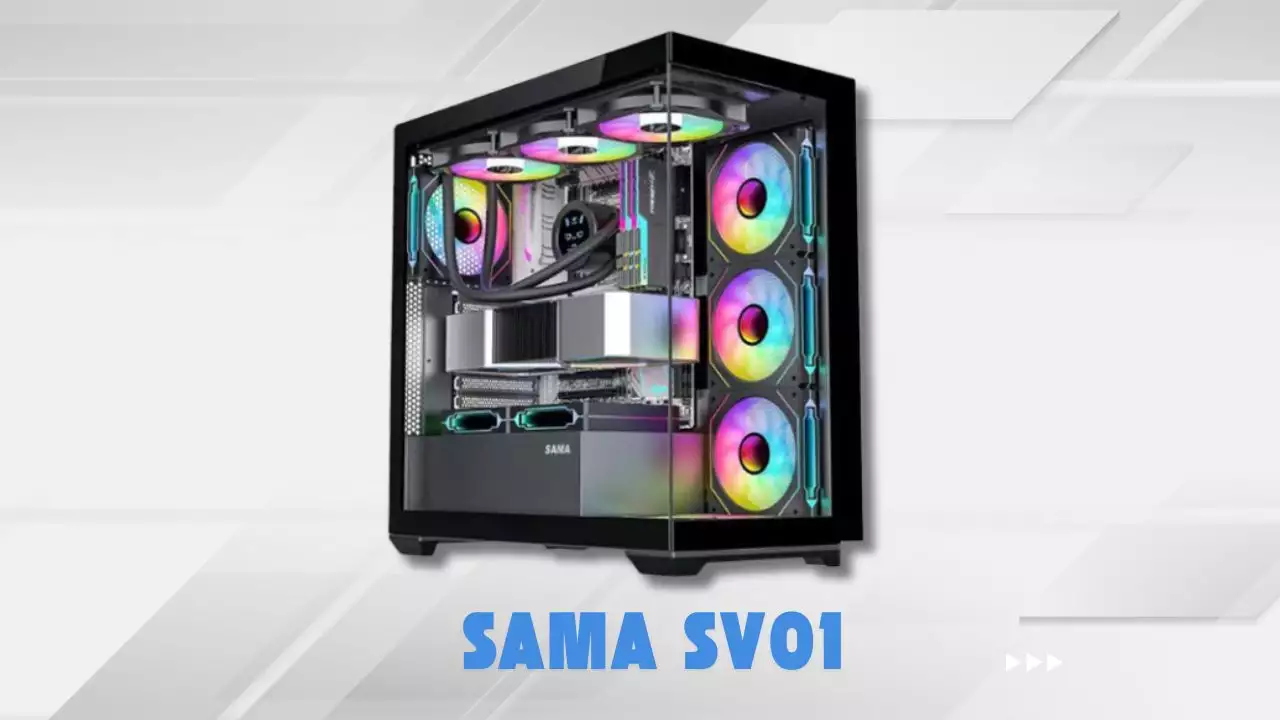
- Aesthetic Appeal: Many micro ATX cases, such as the Fractal Design Focus G Mini or DarkFlash DLM 21, feature sleek designs with tempered glass panels or RGB lighting, letting you showcase your build’s internals.
According to sources like Newegg Insider, micro ATX builds are ideal for scenarios like living room media centers or compact workstations, offering a balance of power and portability without the extreme compromises of mini-ITX.
Essential Components for a Micro ATX Build
Building a micro ATX PC requires careful selection of components to ensure compatibility and performance. Below is a breakdown of the key components:
| Component | Description | Considerations |
|---|---|---|
| Motherboard | The backbone of your build, connecting all components. Must be micro ATX and support your CPU socket (e.g., AM4 for AMD, LGA 1700 for Intel). | Look for features like PCIe 4.0, Wi-Fi, and multiple RAM slots for future upgrades. Example: Gigabyte B550M K. |
| CPU | Determines processing power for tasks like gaming or editing. | Choose based on performance needs and socket compatibility. Budget options like AMD Ryzen 5 or Intel Core i5 are popular. |
| GPU | Essential for gaming or graphics-intensive tasks. | Ensure it fits the case and is supported by the PSU. Example: NVIDIA RTX 3060 Ti. |
| RAM | Affects multitasking and performance. DDR4 or DDR5 depending on motherboard. | 16GB is recommended for modern applications; 8GB is a minimum. |
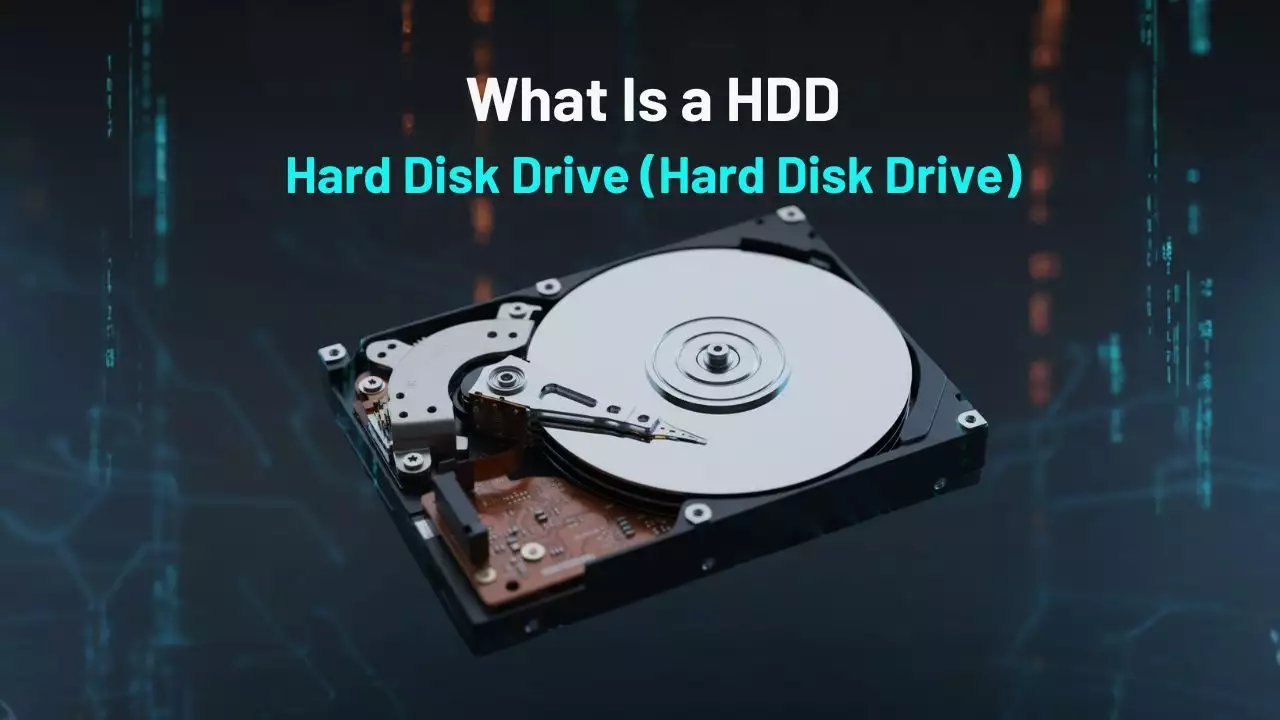
| Storage | SSDs (especially NVMe M.2) offer fast boot and load times. | Consider a mix of SSD for OS and HDD for bulk storage. Example: Kingston A2000 M.2 SSD. |
| Power Supply (PSU) | Powers all components. | Choose a wattage (e.g., 550W–750W) that supports current and future components. Look for 80+ Gold certification for efficiency. |
| Case | Houses all components; must support micro ATX motherboards. | Prioritize airflow, cable management, and aesthetics. Example: Cooler Master MasterBox Q300L. |
For detailed component recommendations, Pocket-lint suggests budget-friendly options like the AMD Ryzen 5 3400G with onboard graphics to save costs.
Case Study: A $400 Budget Micro ATX Build
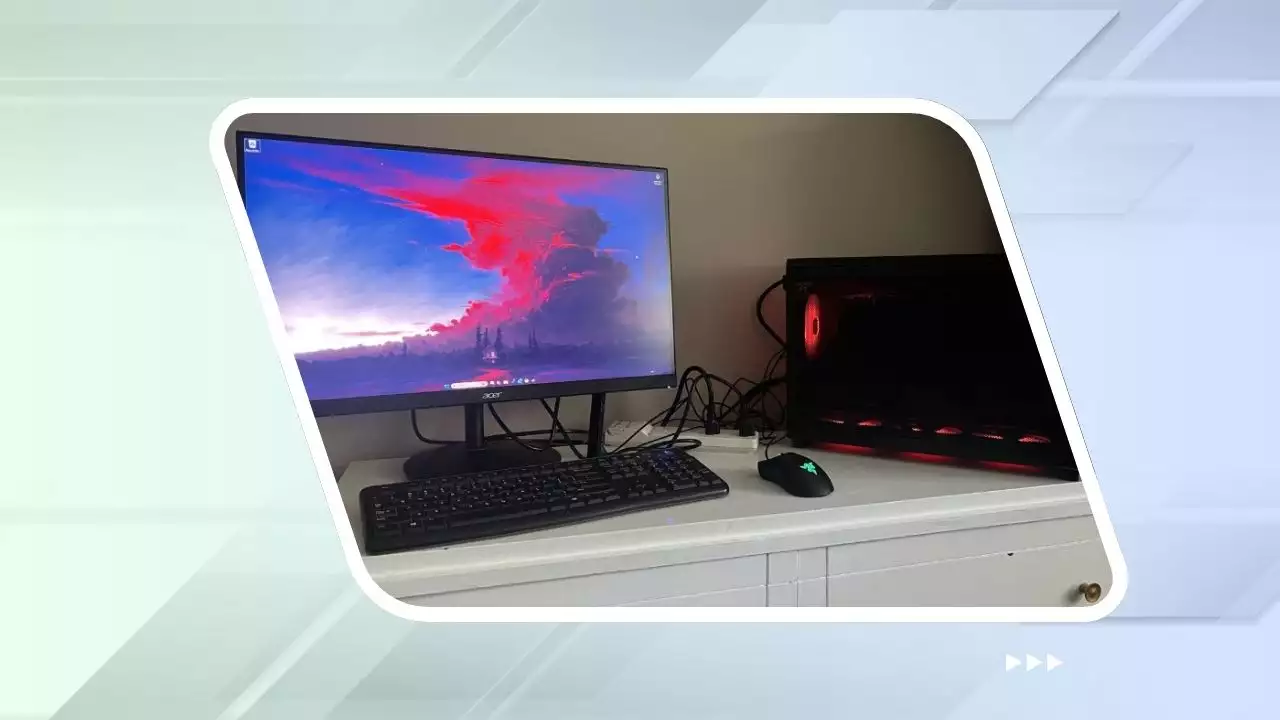
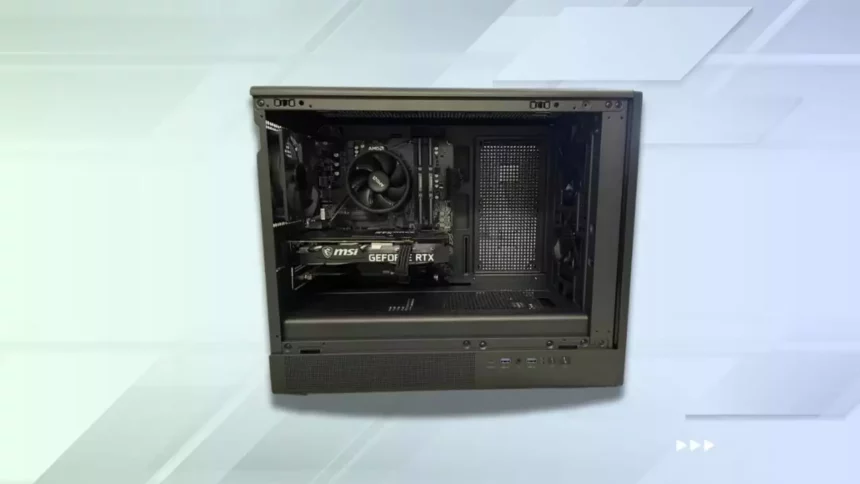
To illustrate the potential of a micro ATX build, let’s examine a real-world example where a friend upgraded an outdated PC (originally with an Intel i5-6600K and GTX 960 2GB) on a tight $400 budget. By combining new and used components, we created a powerful, compact system for gaming and general use. Here’s the build:
| Component | Model | Cost | Notes |
|---|---|---|---|
| CPU | AMD Ryzen 5 5500 3.6 GHz 6-Core | $62.00 | Mid-range CPU, great for gaming and multitasking. |
| Motherboard | Gigabyte B550M K Micro ATX AM4 | $66.49 | Supports PCIe 4.0, future-proof for upgrades. |
| Memory | TEAMGROUP T-Force Vulcan Z 16 GB (2 x 8 GB) DDR4-3200 CL16 | $20.00 | Sufficient for modern games and multitasking. |
| Storage (SSD) | SanDisk SSD PLUS 480 GB 2.5″ | $0.00 | Reused from old PC, provides fast boot times. |
| Storage (HDD) | Western Digital Blue 2 TB 3.5″ 7200 RPM | $0.00 | Reused, offers ample storage for games and files. |
| Video Card | MSI VENTUS 2X OCV1 GeForce RTX 3060 Ti LHR 8 GB | $180.00 | Powerful GPU for 1080p and some 1440p gaming. |
| Power Supply | EVGA SuperNOVA 750 G2 750 W 80+ Gold Fully Modular | $0.00 | Reused, supports future GPU upgrades. |
| Wireless Adapter | TP-Link TL-WDN4800 802.11a/b/g/n PCIe x1 | $0.00 | Reused, provides Wi-Fi connectivity. |
| Case | DIYPC DIY-mATX06-Wood Black USB3.0/Type C Micro ATX Mid Tower | $64.97 | Stylish with four pre-installed fans for airflow. |
Total Cost: $393.46
Why This Build Works
- Performance: The AMD Ryzen 5 5500 and RTX 3060 Ti deliver excellent 1080p gaming performance, with the capability to handle 1440p at medium to high settings, aligning with goals discussed in Reddit forums.
- Cost Savings: Reusing components like the PSU, storage, and Wi-Fi adapter kept costs under $400, demonstrating the value of incorporating used parts.
- Future-Proofing: The B550M motherboard supports PCIe 4.0 and AM4 CPUs, allowing upgrades to a more powerful CPU or GPU, as planned for next year with a Wi-Fi 6E card and 1TB NVMe SSD.
- Aesthetics and Airflow: The DIYPC case’s classy wooden design and four pre-installed fans ensure both visual appeal and effective cooling, critical for compact builds as noted by Overclockers UK.
This build proves that a micro ATX build can be both affordable and powerful, offering a compact solution without compromising on performance.
Tips for Planning Your Micro ATX Build
Building a micro ATX PC requires careful planning to maximize performance and longevity. Here are practical tips to guide you:
- Set a Clear Budget: Determine your spending limit and explore deals on sites like Newegg or Amazon. Used components, as shown in the case study, can significantly reduce costs.
- Ensure Component Compatibility: Use tools like PCPartPicker to verify that your motherboard, CPU, RAM, and GPU are compatible. Pay attention to socket types and case dimensions.
- Prioritize Airflow: Compact cases can run hot, so choose a case with good ventilation, like the Fractal Design Pop Mini Air, and consider adding fans, as suggested in Reddit discussions.
- Plan for Upgrades: Select a motherboard with extra slots and a PSU with sufficient wattage (e.g., 650W–750W) to accommodate future components, such as a high-end GPU or additional storage.
- Focus on Aesthetics: If looks matter, opt for a case with a tempered glass panel or RGB lighting. The Cooler Master MasterBox Q300L, recommended by Pocket-lint, is a great example with a transparent side panel.
Resources for Micro ATX Builds
To help you plan and execute your micro ATX build, leverage these resources:
- Guides: Pocket-lint offers a detailed budget build guide, while PC Gamer provides insights for various price points.
- Forums: Communities like Reddit’s r/buildapc and r/buildmeapc offer real-world advice and build examples, such as this micro ATX build discussion.
- Tools: PCPartPicker helps you plan builds, check compatibility, and find deals.
- Shopping: Newegg and Amazon provide extensive component selections, with Newegg’s PC Builder tool being particularly useful for micro ATX builds.
👉 Check out the full guide here: Building a Budget 1080p Gaming PC – discover the best affordable parts for smooth 1080p gaming performance.
Conclusion
A micro ATX build offers a compelling blend of compact design, affordability, and performance, making it an excellent choice for anyone looking to build a PC that fits their space and budget. Whether you’re aiming for a budget-friendly setup like the $400 example above or a high-end gaming rig, the micro ATX form factor provides the flexibility to meet your needs. By carefully selecting components, prioritizing airflow, and planning for future upgrades, you can create a micro ATX PC that’s both powerful and stylish. Start exploring your options today, and you might find that a micro ATX build is the perfect solution for your next PC project.

Hi, I’m Nghia Vo: a computer hardware graduate, passionate PC hardware blogger, and entrepreneur with extensive hands-on experience building and upgrading computers for gaming, productivity, and business operations.
As the founder of Vonebuy.com, a verified ecommerce store under Vietnam’s Ministry of Industry and Trade, I combine my technical knowledge with real-world business applications to help users make confident decisions.
I specialize in no-nonsense guides on RAM overclocking, motherboard compatibility, SSD upgrades, and honest product reviews sharing everything I’ve tested and implemented for my customers and readers.