In today’s article, I will guide you on how to update the Gigabyte BIOS quickly and accurately. This process is not overly complicated but requires precise handling to avoid unfortunate issues during the update. In this guide, I will be using the Gigabyte X470 AORUS ULTRA GAMING motherboard to update the BIOS, but the steps are similar for other Gigabyte motherboard versions.
Guide to Updating Gigabyte BIOS 2020
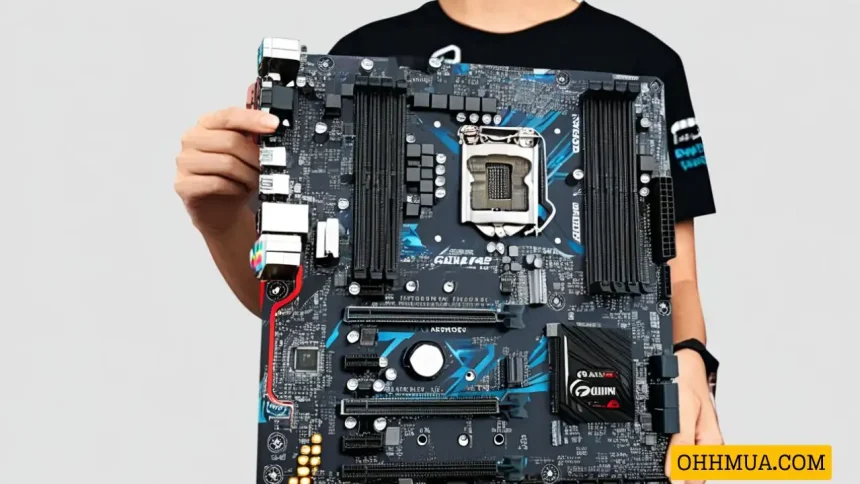
What is a motherboard? How is it made?
Check the BIOS version information on the motherboard
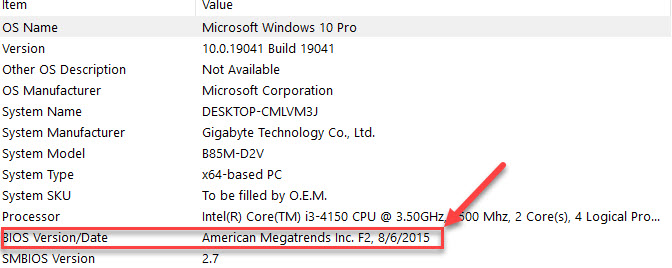
First, you need to determine which version of the motherboard you are using with the following simple steps:
- Go to the search box on the taskbar and type
msinfo32. - Then, click on
System Information. -
msinfo32
Next, find the
BIOS Version/Dateinformation to check your motherboard version and download the appropriate BIOS update.
How to Update the GIGABYTE BIOS
Before starting the update process, keep in mind that you will need an internet connection (to download the update) and a USB drive to save the update.
Download the BIOS update
The first step is to download the BIOS update from the GIGABYTE manufacturer’s website. Here, we are using the X470 AORUS ULTRA GAMING motherboard. Click on the download section and save it to your desktop. You can search on Google using the following syntax: gigabyte + "your motherboard name" + bios.

Move the BIOS Update to Your USB Drive
After downloading, extract the files. You will get files similar to the image below, which you should copy to your USB drive:
Note: Your USB drive must be formatted in FAT32/16/12.

Restart the Computer and Enter BIOS
Once you restart, ensure that your USB drive is securely plugged in. Get ready to press the DEL key repeatedly to enter the BIOS (if you don’t press it quickly enough, the system will boot into Windows).

BIOS setup / Q-flash
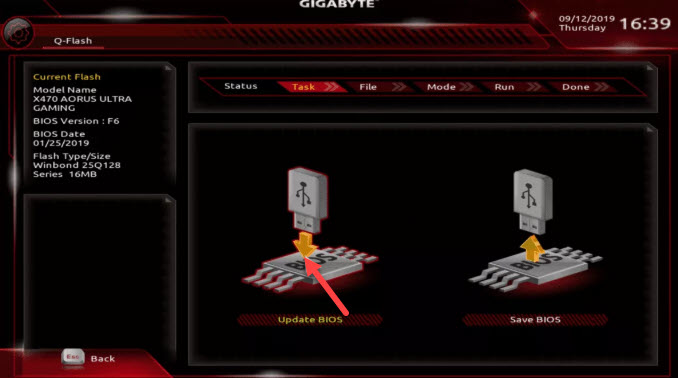
Enter Q-Flash Mode
Inside the BIOS, you will see a tab for Q-Flash at the bottom. If you don’t see the tab, you need to press F8 to enter the Q-Flash menu.

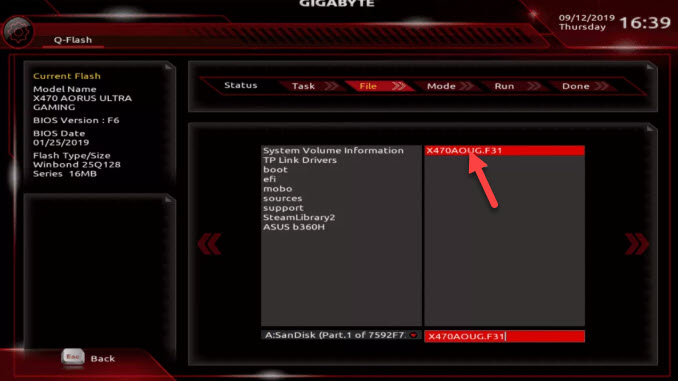
Select the BIOS Update File from the USB
When in the Q-Flash menu, you will see two options: “Update the BIOS” and “Save the BIOS.” Choose “Update the BIOS.”
On the next screen, select the extracted file from the USB (even though we extracted multiple files, the BIOS will only display the correct file needed for installation, so don’t worry about selecting the wrong one).
Start Updating the BIOS
The next step is to begin the BIOS update process. Simply click the “Press To Start” tab, then sit back and enjoy a cup of coffee. The BIOS update process can take more than 5 minutes. Once completed, the system will automatically restart and boot into your operating system.

After the BIOS Update
After the successful BIOS update, select “Load Optimized Default Settings,” then choose “Save and Exit.”
Conclusion
That’s it! I have just guided you through the process of updating the BIOS on a Gigabyte motherboard. I wish you success, and if you have any questions, feel free to leave a comment below.

Hi, I’m Nghia Vo: a computer hardware graduate, passionate PC hardware blogger, and entrepreneur with extensive hands-on experience building and upgrading computers for gaming, productivity, and business operations.
As the founder of Vonebuy.com, a verified ecommerce store under Vietnam’s Ministry of Industry and Trade, I combine my technical knowledge with real-world business applications to help users make confident decisions.
I specialize in no-nonsense guides on RAM overclocking, motherboard compatibility, SSD upgrades, and honest product reviews sharing everything I’ve tested and implemented for my customers and readers.