
If you’re about to build a PC using Intel’s 12th, 13th, or 14th gen CPUs—congrats! You’ve picked a powerful platform. But if it’s your first time installing a CPU, it can feel intimidating. Don’t worry—in this guide, I’ll walk you through every step so you don’t bend any pins, install it upside down, or damage the motherboard.
Tools You’ll Need:
-
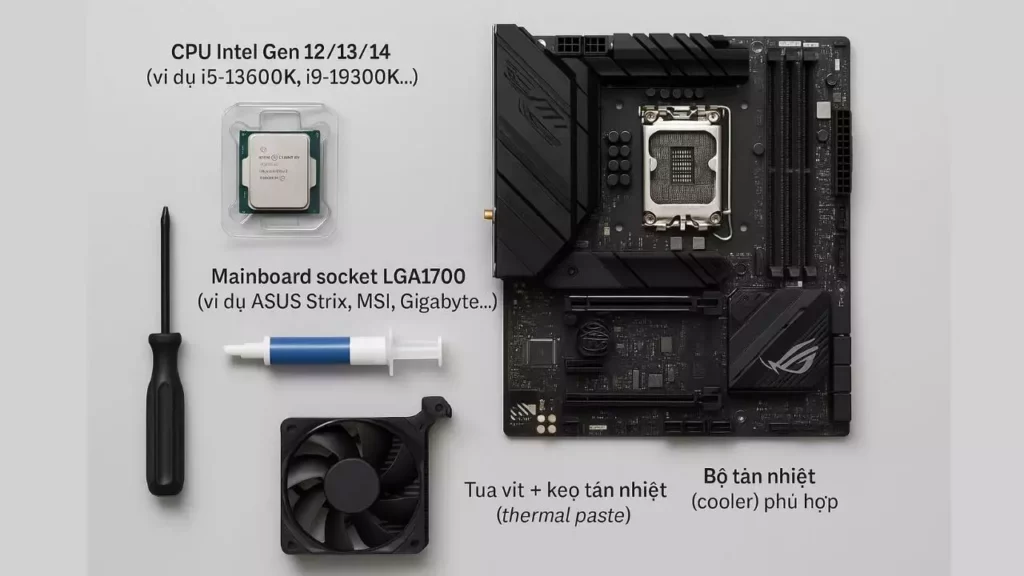
Intel 12th / 13th / 14th Gen CPU (e.g., i5-13600K, i9-13900K…)
-
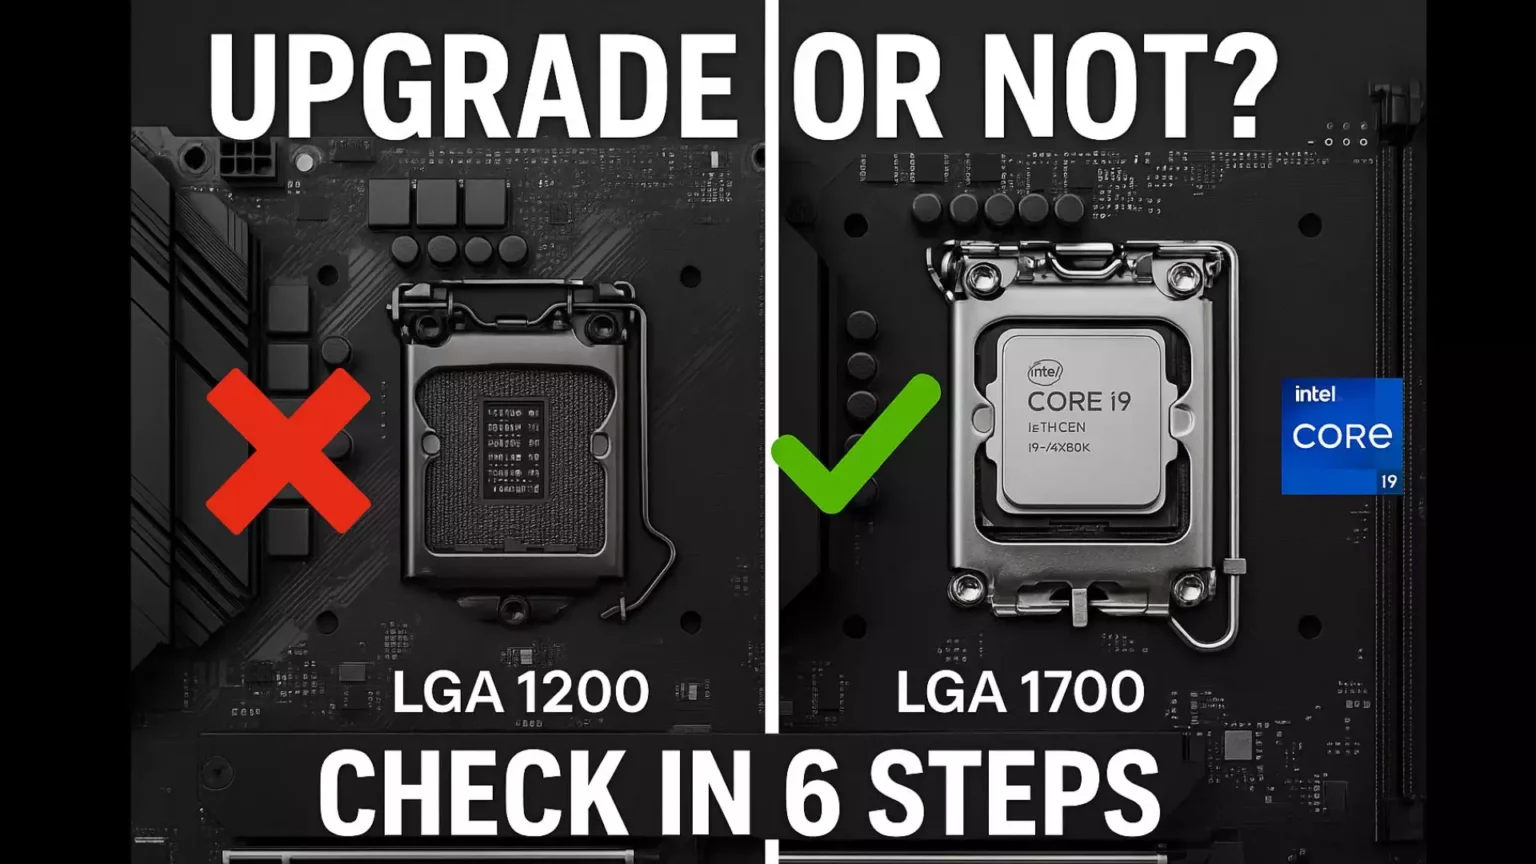
LGA1700 motherboard (e.g., ASUS Strix, MSI, Gigabyte…)
-
Phillips screwdriver + thermal paste
-
Compatible CPU cooler
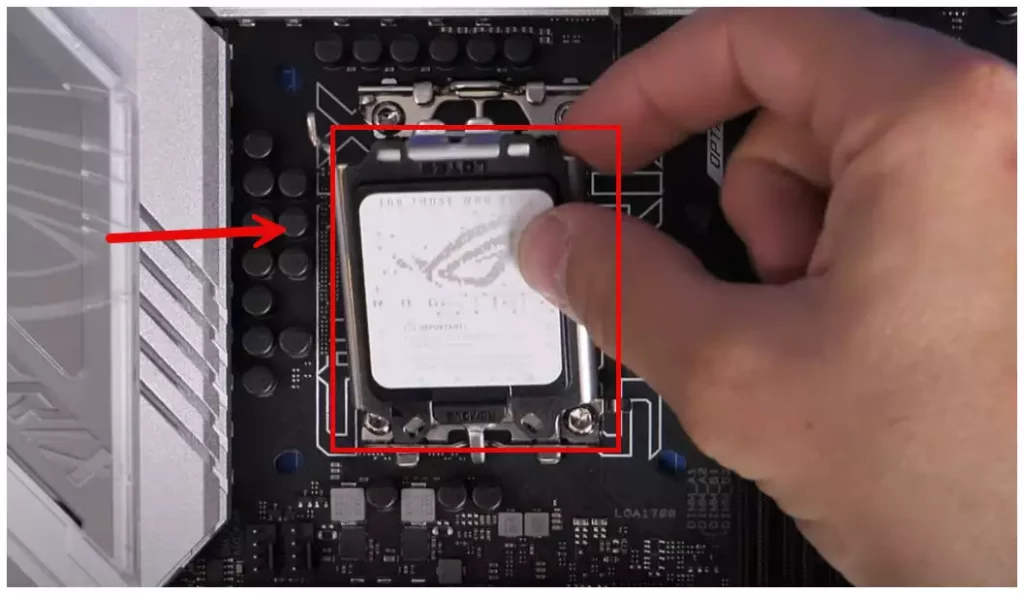
Step 1: Open the CPU Socket
On your motherboard, locate the CPU socket—it’ll have a black plastic cover.
-
Press and gently pull the metal lever to unlock the socket.
-
Lift the cover upwards.
🛑 Warning: Underneath the cover are hundreds of tiny, fragile pins. Do not touch them. Any bent pin can render your motherboard useless.
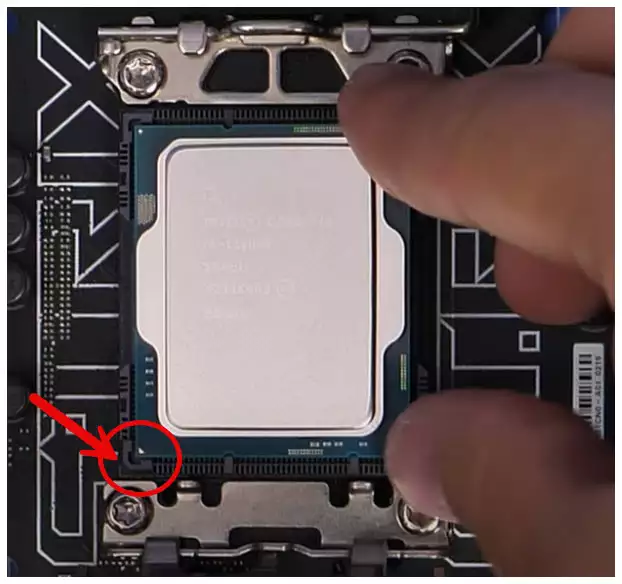
Step 2: Align and Install the CPU
Intel has designed the CPU and socket to prevent incorrect installation. Here’s what to look for:
-
The CPU has two small notches that match with the socket.
-
There’s a tiny gold arrow on the bottom-left corner of the CPU this should align with the same corner of the socket.
👉 Gently hold the CPU by its edges don’t touch the gold contact pads underneath. Lower it straight into the socket. If aligned correctly, it will drop into place naturally. No force needed.
Step 3: Secure the CPU
-
Lower the socket cover.
-
Lock the lever back down. The plastic protective cap should pop off automatically (keep it in case you remove the CPU later).

Secure the CPU

Step 4: Apply Thermal Paste and Install the Cooler
-
Apply a small pea-sized dot of thermal paste in the center of the CPU.
-
Carefully place your cooler on top. Screw it down evenly on all corners.
⚠️ Don’t overtighten, but make sure it’s snug. You want good contact for heat transfer, without damaging anything.
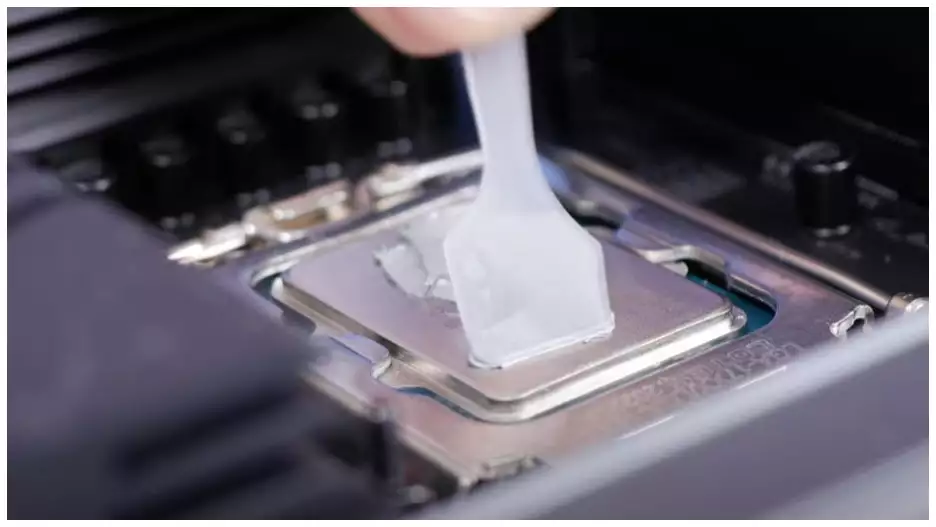
How to Apply Thermal Paste Properly
Thermal paste improves heat transfer between your CPU and cooler. Applying it wrong can lead to overheating, throttling, or crashes.
✔️ The best method:
✅ Apply a single pea-sized drop in the center of the CPU.
When the cooler is mounted, it spreads the paste evenly.
❌ Avoid these mistakes:
-
Using too much → paste may overflow and cause short circuits.
-
Drawing X or circle shapes → uneven spread, no performance gain.
-
Applying unevenly or multiple spots → patchy coverage.
Comparing CPU Cooler Types
Choosing the right cooler helps your CPU stay cool and efficient. Here’s a quick breakdown:
| Cooler Type | Pros | Cons | Best For |
|---|---|---|---|
| Air Cooler | Affordable, reliable, quiet | Large size may block RAM | Beginners, i3/i5 CPUs |
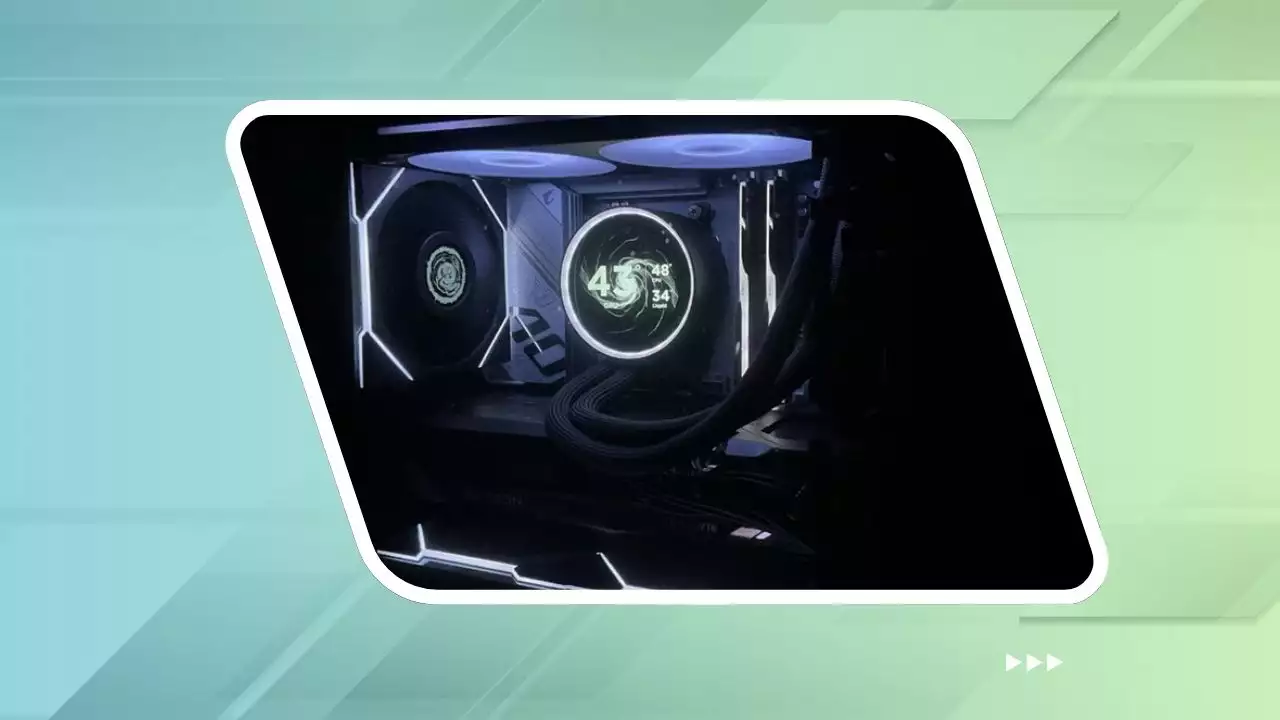
| AIO Water Cooler | Better temps, clean setup | More expensive, pump can fail | Gamers, i5/i7/i9, mild overclock |
| Custom Loop | Max cooling & aesthetics | Expensive, complex, high maintenance | Enthusiasts, high-end builds |
🎯 Tip: If you’re using an i5 or i7 without overclocking, a good air cooler like DeepCool AK400 or Noctua U12S is more than enough. For i9 or overclocked systems, go for an AIO cooler like NZXT Kraken or Lian Li Galahad.
Final Thoughts
Installing a CPU is not as scary as it seems—just follow the steps, stay calm, and don’t rush. The installation process is nearly identical for Intel 12th through 14th gen CPUs. Done properly, you’ll have a rock-solid, cool, and high-performance system.
If you found this guide helpful, don’t forget to bookmark it and share with friends who are planning their next PC build!
Related articles


Hi, I’m Nghia Vo: a computer hardware graduate, passionate PC hardware blogger, and entrepreneur with extensive hands-on experience building and upgrading computers for gaming, productivity, and business operations.
As the founder of Vonebuy.com, a verified ecommerce store under Vietnam’s Ministry of Industry and Trade, I combine my technical knowledge with real-world business applications to help users make confident decisions.
I specialize in no-nonsense guides on RAM overclocking, motherboard compatibility, SSD upgrades, and honest product reviews sharing everything I’ve tested and implemented for my customers and readers.